
Installation on Bosch BES2 and Panasonic FIT1
This page covers the first-generation E-14 with Bosch eBike System 2 (BES2) and Panasonic FIT1 drives. For the Bosch Smart System, see E-14 2.0 with the Bosch Smart System.
The system’s parts
Section titled “The system’s parts”| # | Part | Art. no. | Connection |
|---|---|---|---|
| 1 | Handlebar button / Trigger | 8801 / 8801-04 | Higo, blue, 4-pin — to the converter |
| 2 | DC/DC-CAN converter | 8802 | Hirose, black, 6-pin — via the Y-cable to the e-bike system |
| 3 | E-14 shift unit | 8803 | Higo, purple, 6-pin — to the converter |
| 4 | Connecting cable | 8804–8810 | 400, 500, 600, 700, 800, 900 or 1000 mm |
| 5–7 | Motor, battery, Y-cable | — | the e-bike system’s own parts |
The parts and wiring in general: System overview.
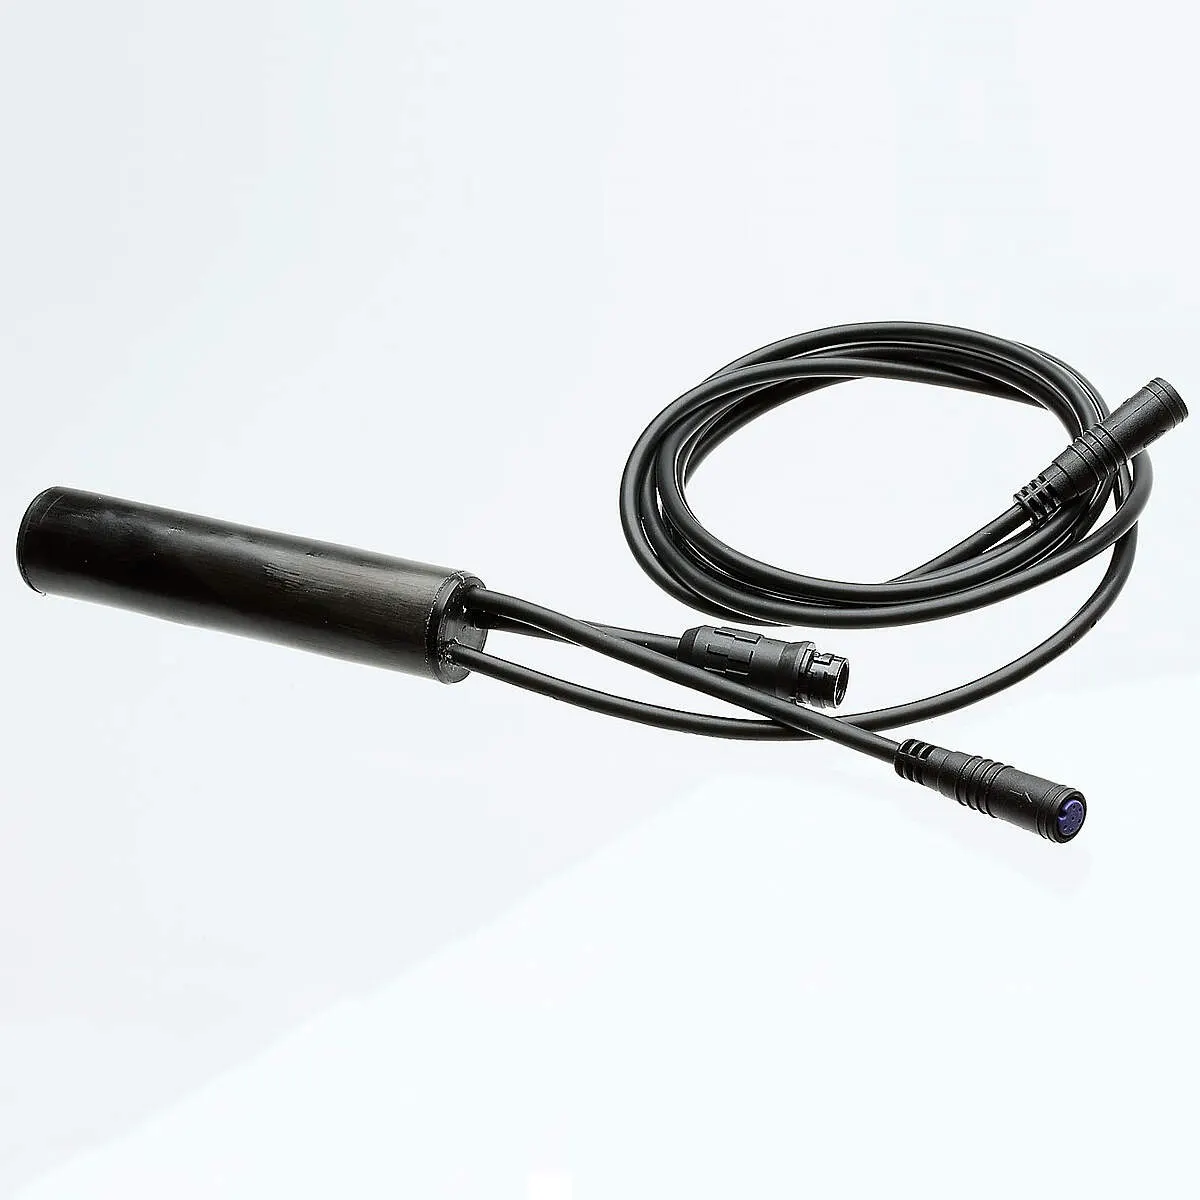
The DC/DC-CAN converter is the link between drive system and E-14: all parts get their power and talk to each other through it. It usually sits in the down tube or seat tube.
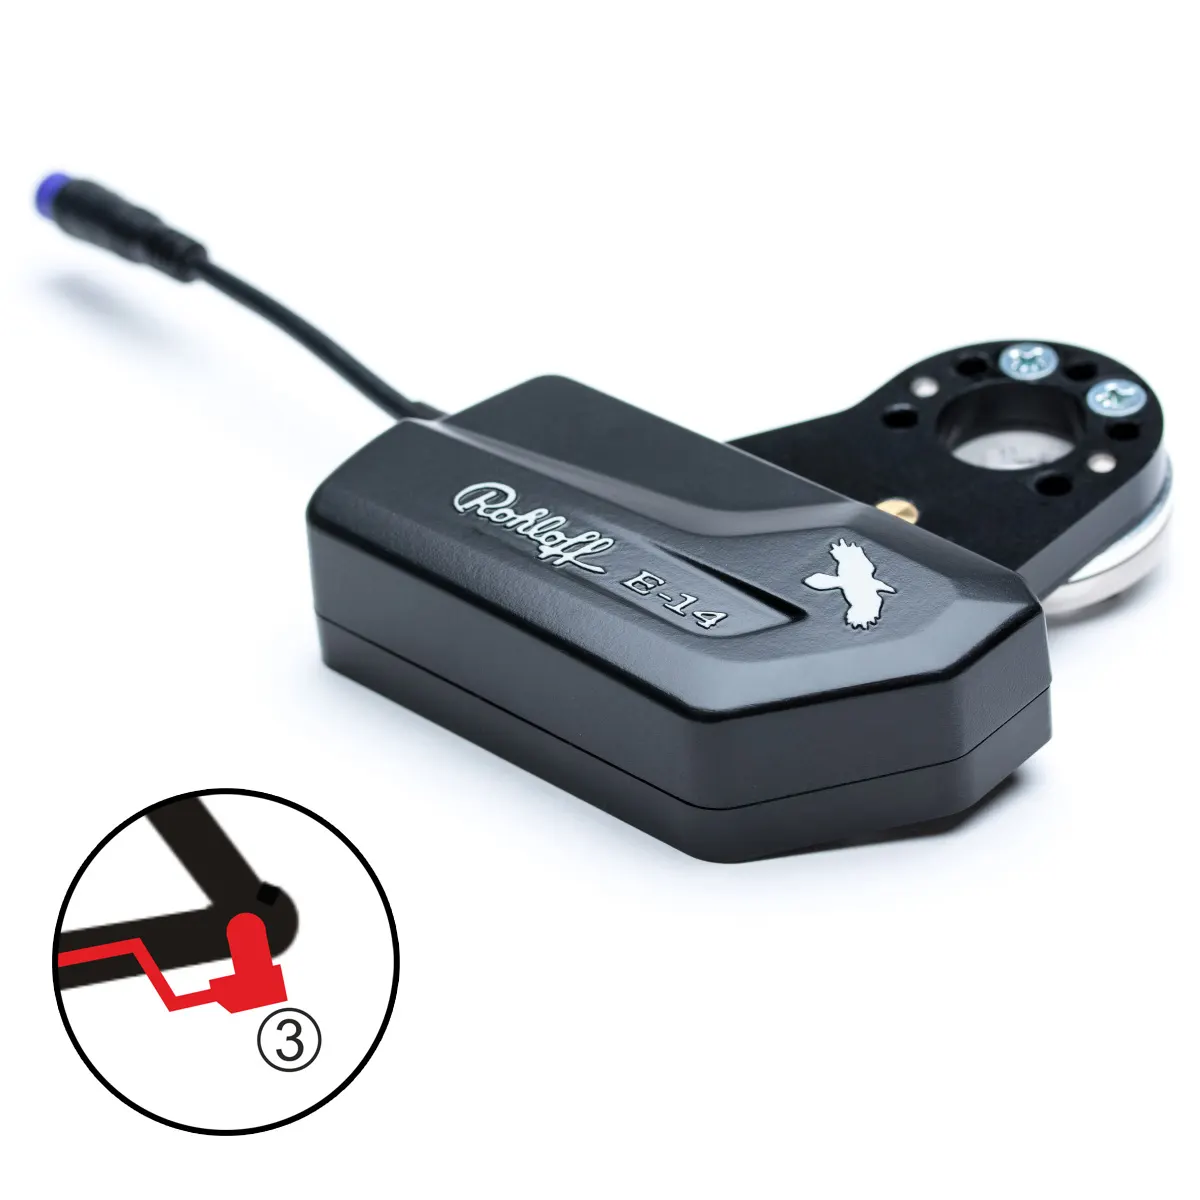
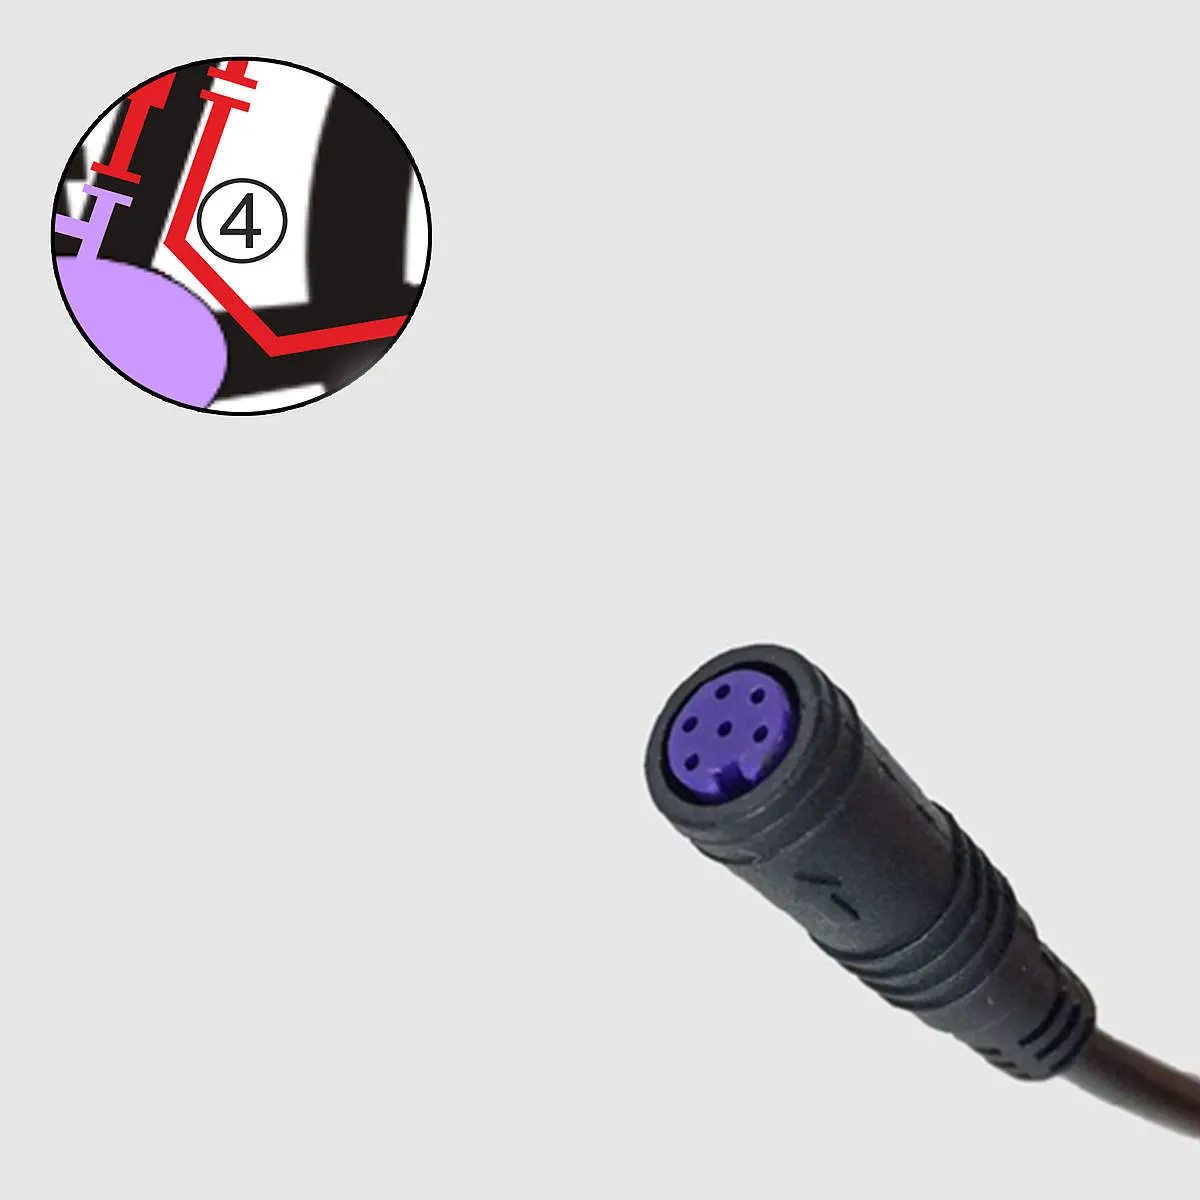
Since the converter sits roughly mid-frame and the shift unit at the rear wheel, a connecting cable links the two — from 400 to 1000 mm in 100 mm steps, depending on the frame and cable route.
Fitting the converter
Section titled “Fitting the converter”Fitting the converter means removing the Bosch motor from the frame.
- Before pushing the converter into the frame, connect the purple 6-pin connecting cable — in the length that suits the frame — and join the black 6-pin Rohloff Hirose plug to the black 6-pin Bosch Hirose socket.
- Pull the handlebar button’s blue 4-pin cable from below, through the Bosch mounting bracket, up inside the frame to the handlebar.
- Push the converter in from below through the bracket — padded with foam if needed.
In the seat tube, mind the seatpost’s adjustment range.
Fitting the handlebar button
Section titled “Fitting the handlebar button”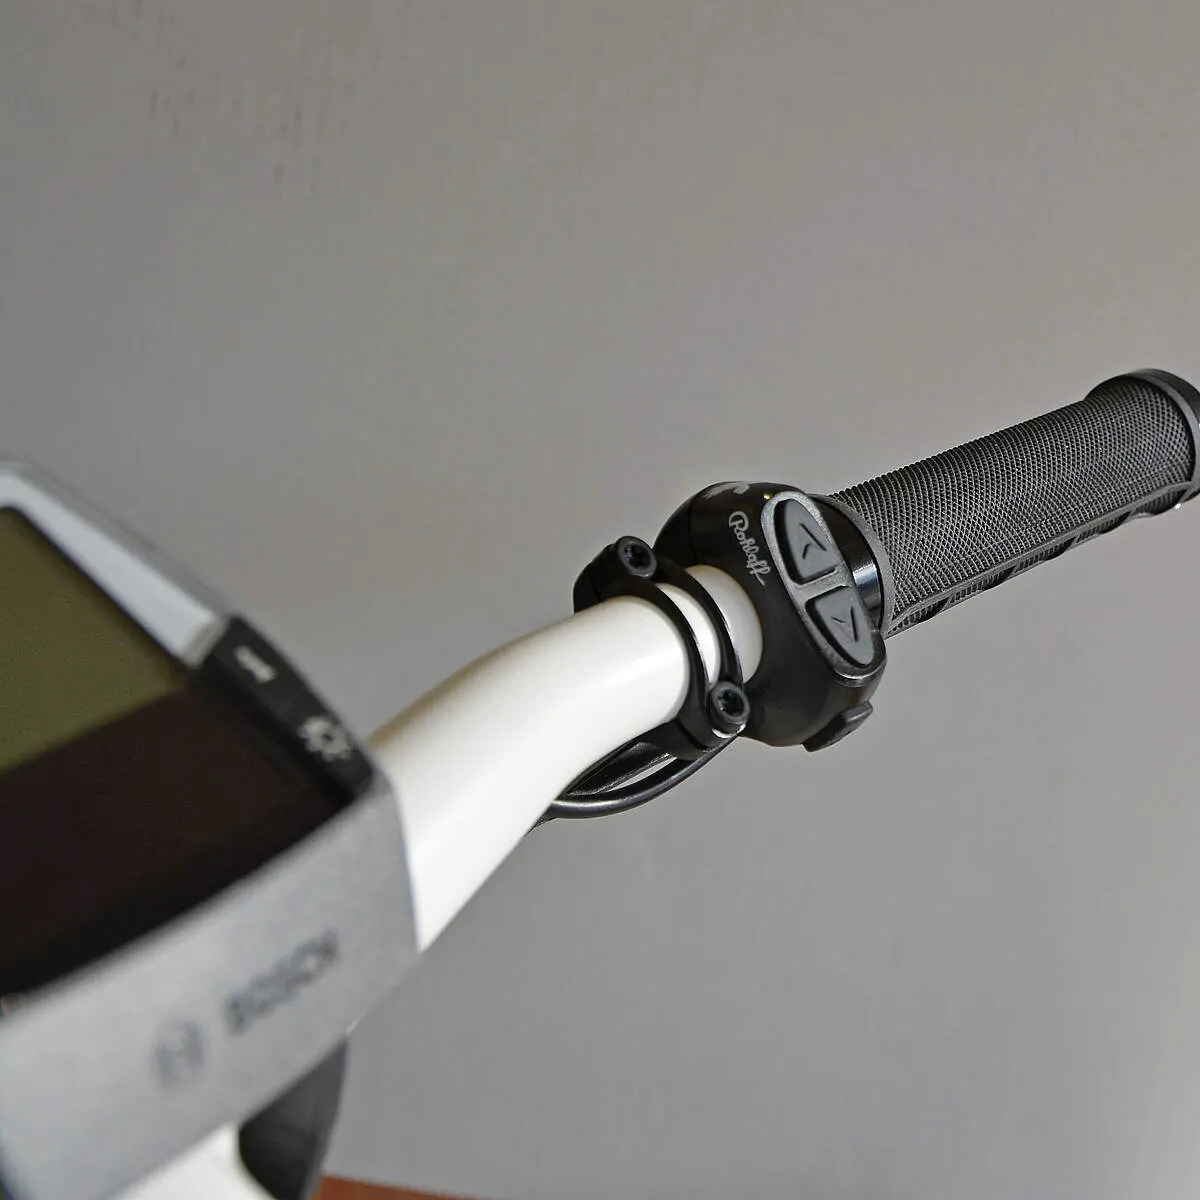
The button fits 22–22.3 mm handlebars. We recommend the right side, between grip and brake lever, so you reach + and – comfortably with your thumb — but it can go on the left too.
-
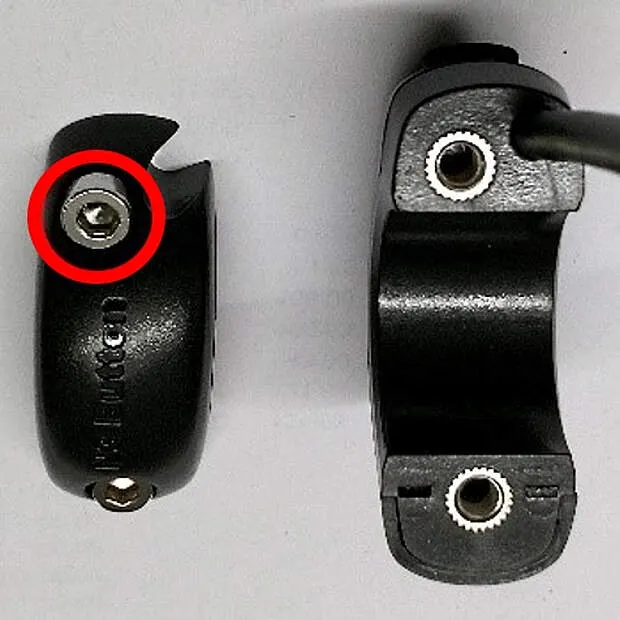
Undo the clamp’s two Allen screws (3 mm) and place the button on a free spot on the bar.
-
Refit the clamp and gently screw in both screws so the gap is about the same on both sides of the clamp. Tighten them to 1 Nm at most.
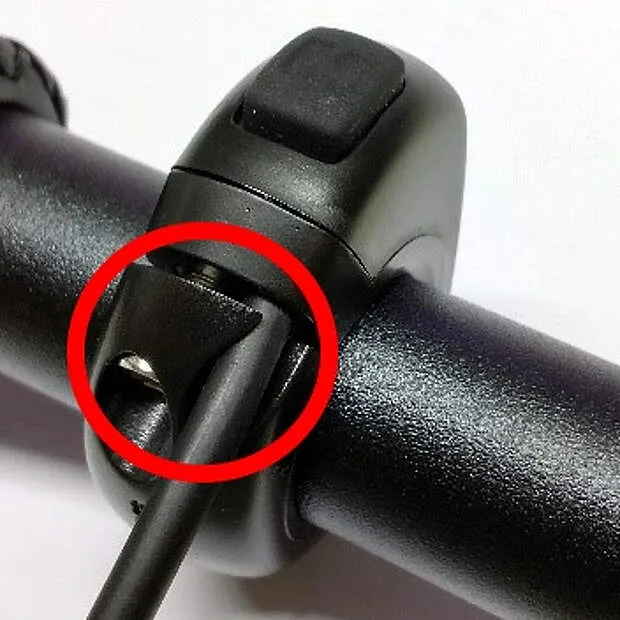
For cleaning, avoid pressure washers, cleaners and penetrating-oil care sprays — a soft cloth lightly dampened with water is enough.
Fitting the Trigger
Section titled “Fitting the Trigger”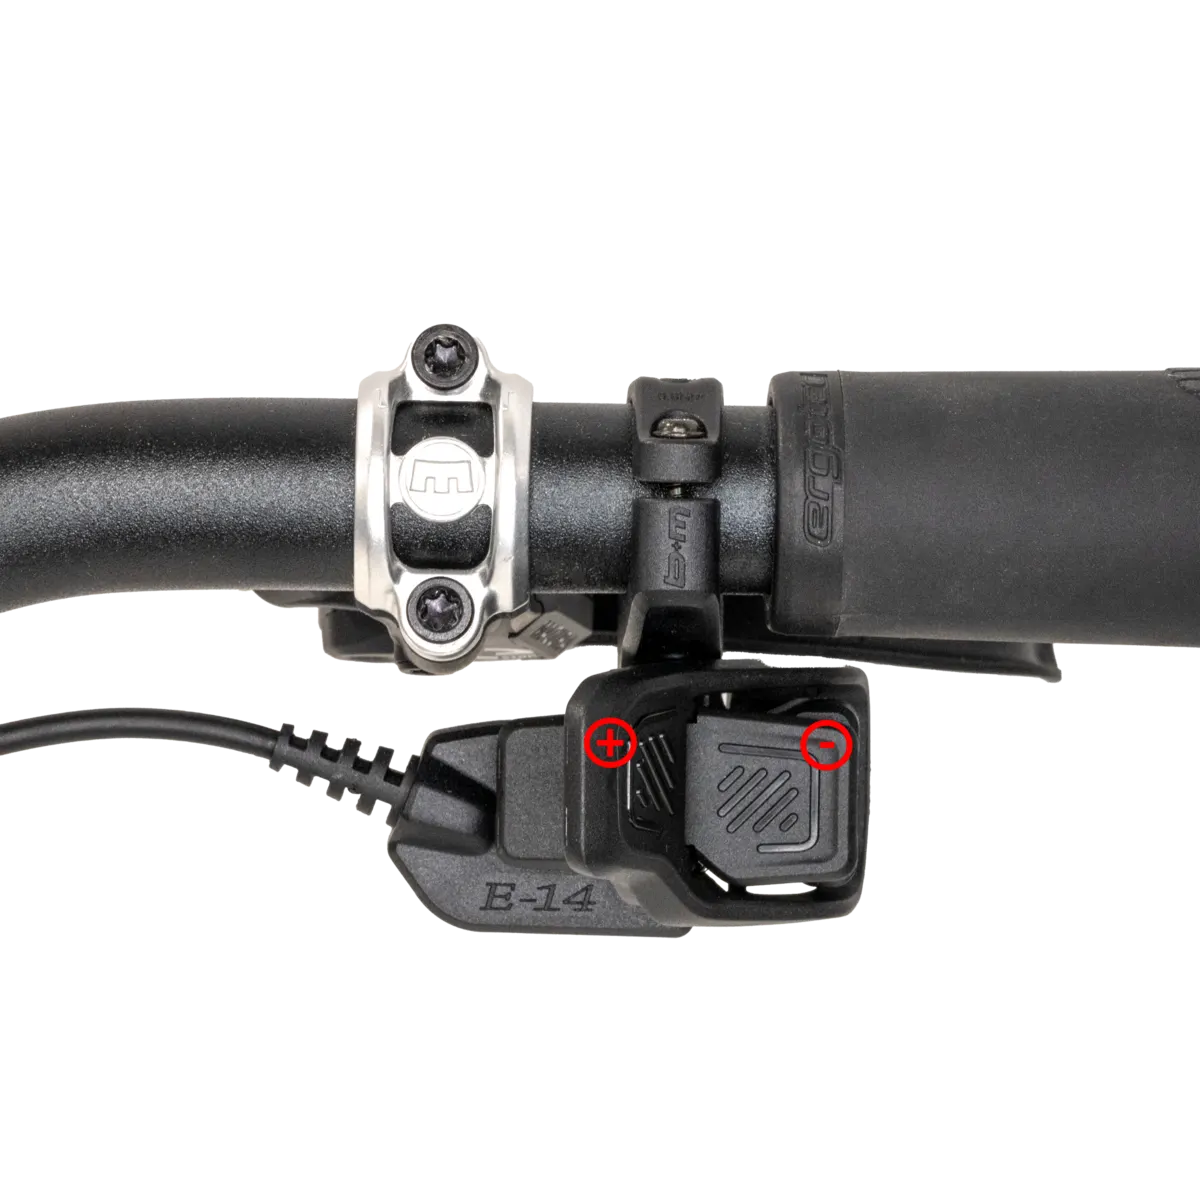
The Trigger fits only on the right of a 22.2 mm handlebar, between grip and brake lever. Fitting works just as on the Bosch Smart System: Fitting the Trigger.
Connectors
Section titled “Connectors”The handlebar button’s or Trigger’s blue 4-pin plug goes into the converter’s blue 4-pin socket. Route the cable so it cannot kink, twist, get trapped or chafe.
| Connection | Connector |
|---|---|
| Bosch system → converter | Hirose, black, 6-pin — turn the sliding sleeve to unlock it |
| Handlebar button / Trigger → converter | Higo, blue, 4-pin |
| Shift unit → converter | Higo, purple, 6-pin |
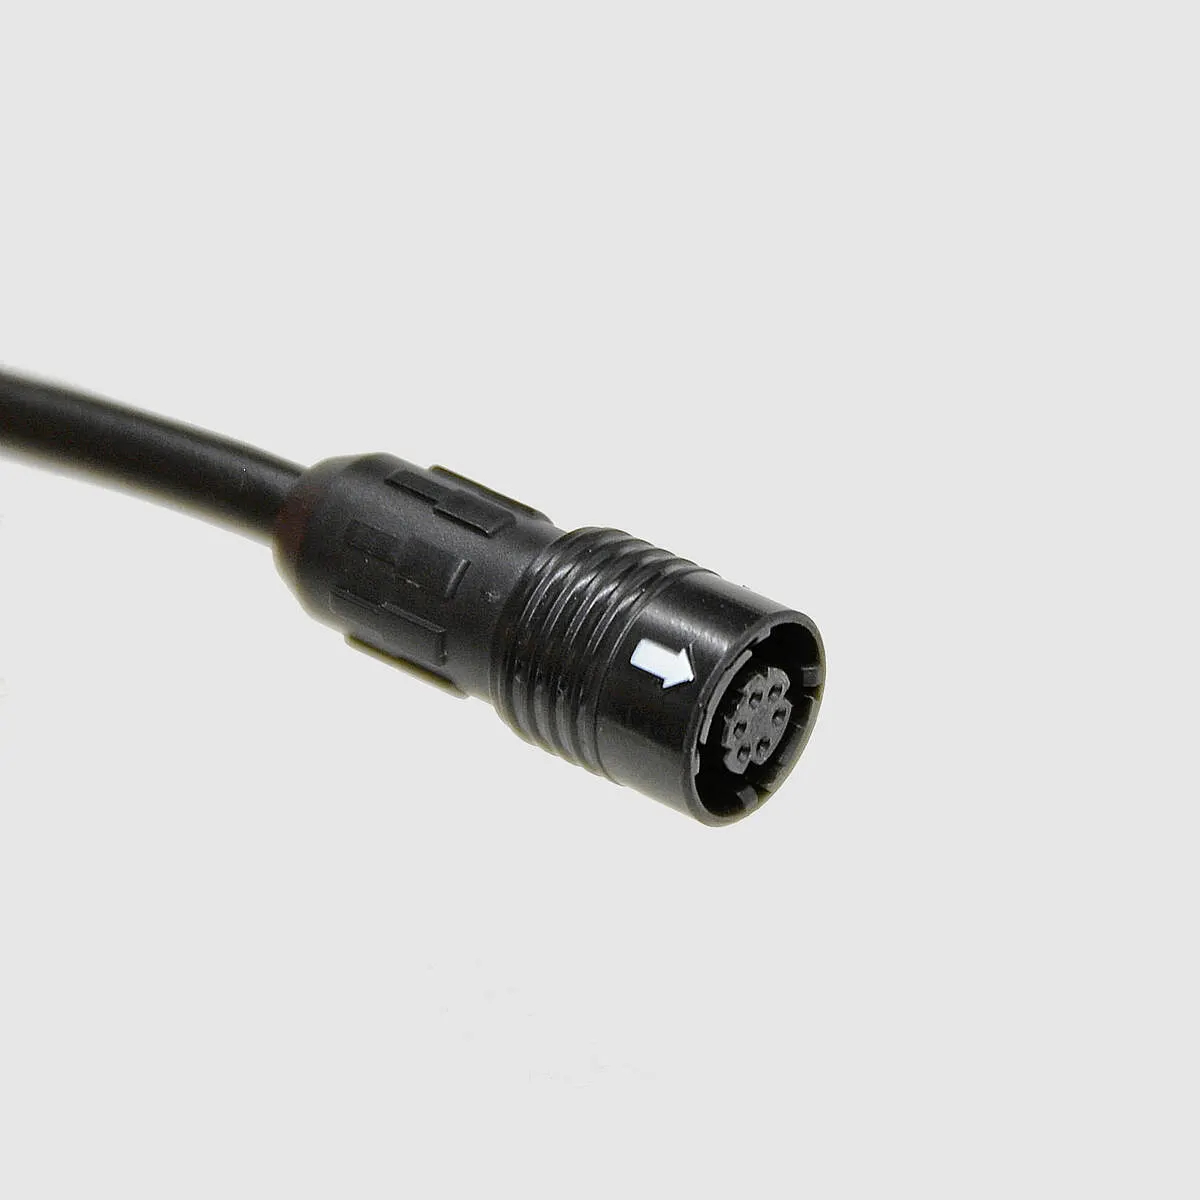
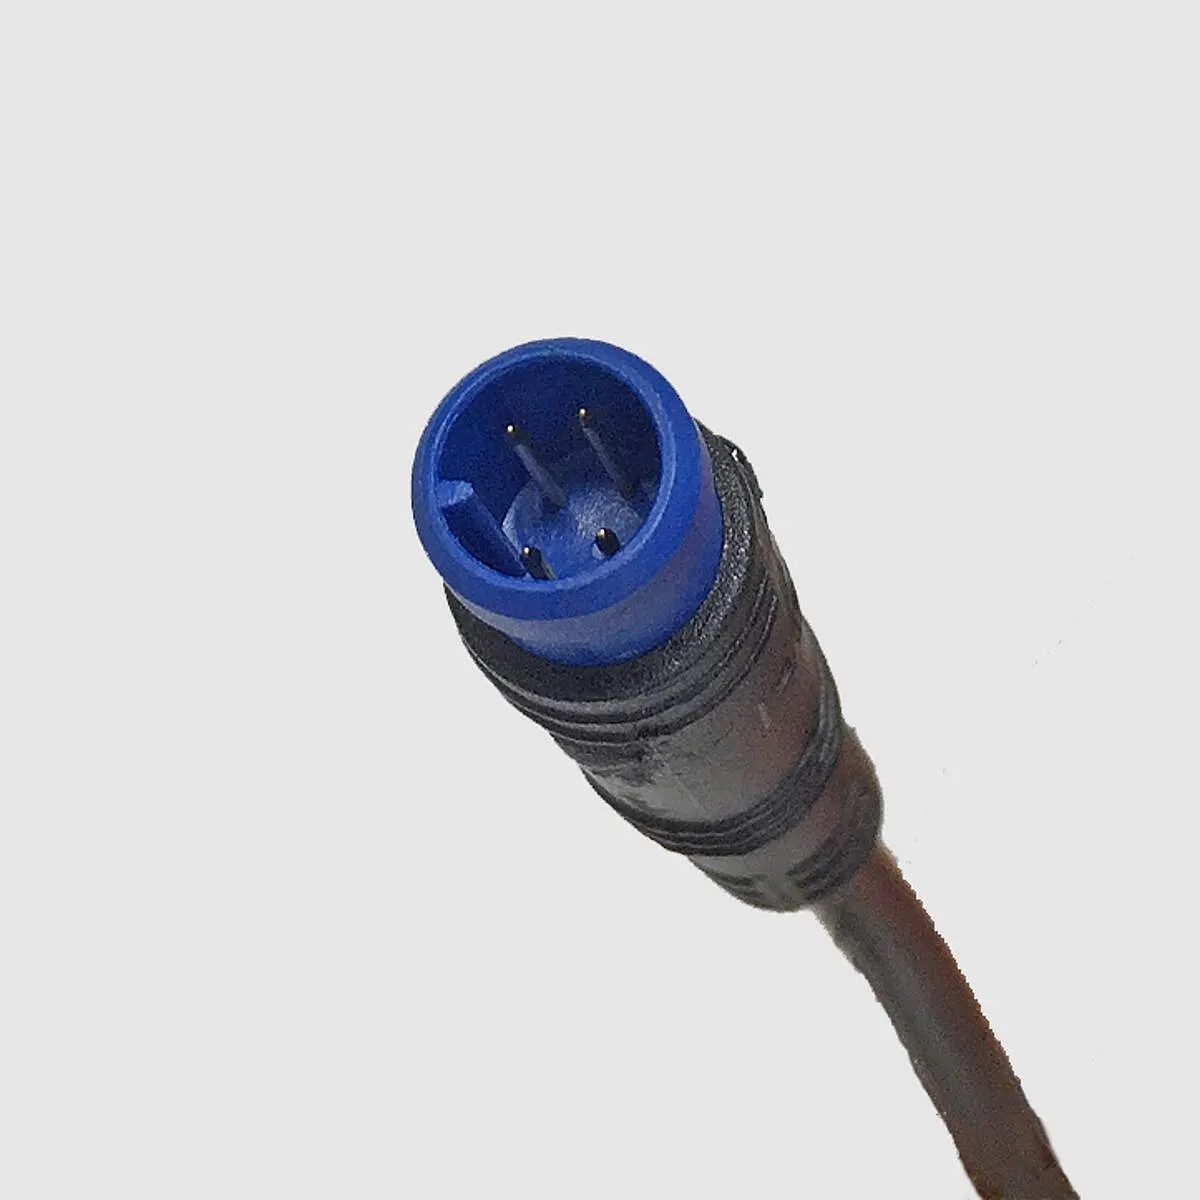
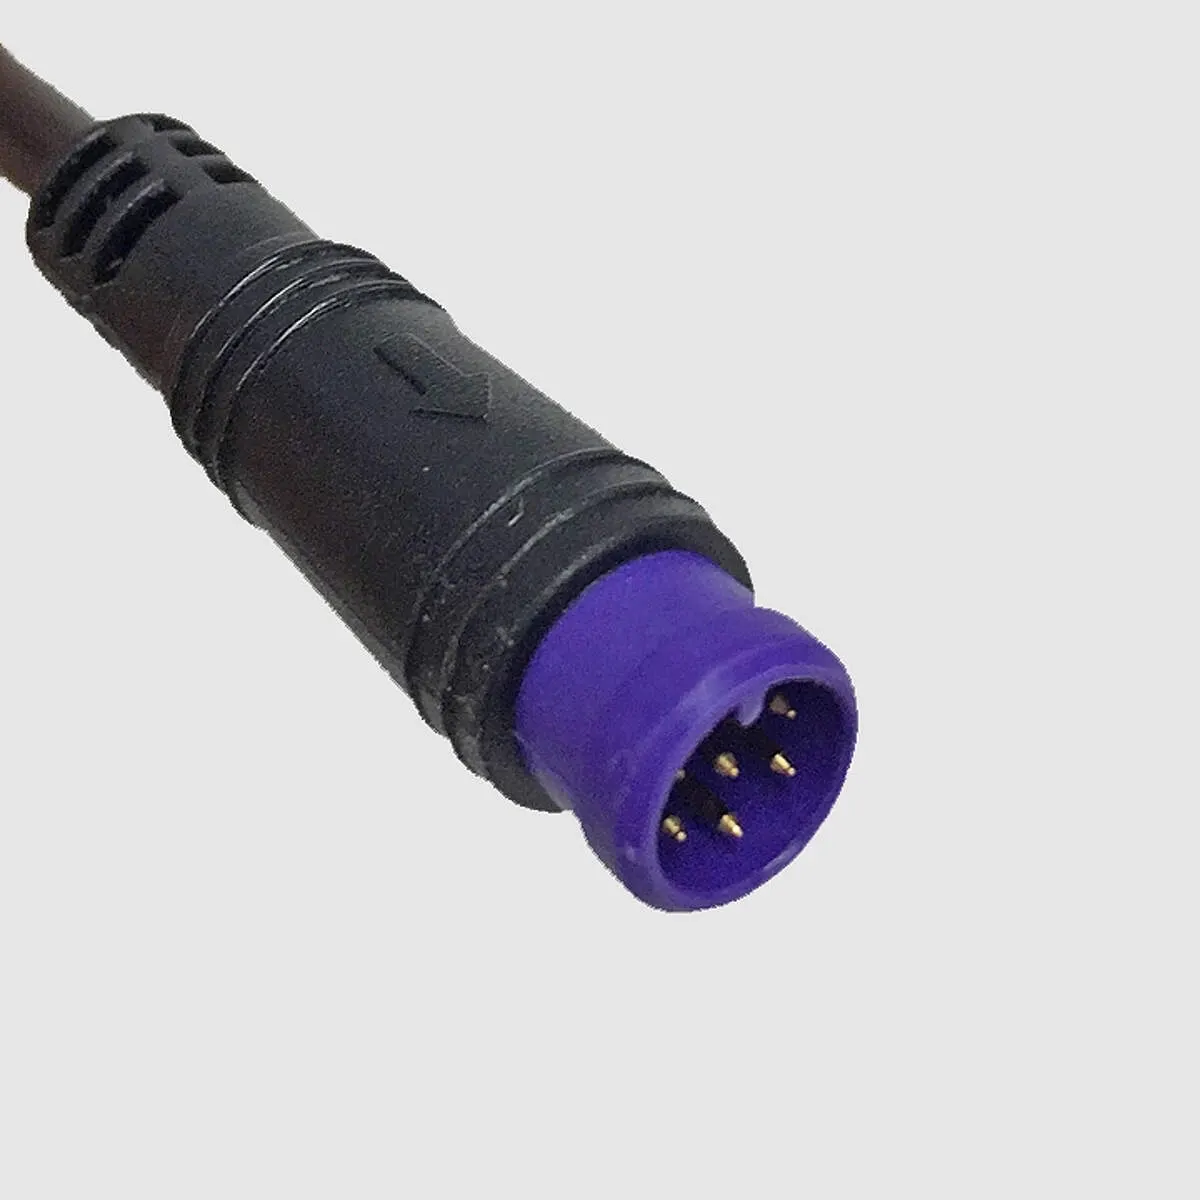
On separating and joining connectors: Cables and connectors. Particularly important on this system:
- The cables and connectors on the button, converter and shift unit cannot be replaced — if damaged, the whole part is replaced.
- Separate connectors only with the system off; rejoin them no sooner than 10 minutes after switching off.
- Fix the shift unit’s connector at the rear wheel firmly to the frame, so it cannot get into the spokes or the brake disc.
- Do not use contact spray.
Frequently asked questions
- Which parts make up the E-14 on Bosch BES2 or Panasonic FIT1?
- A handlebar button (8801) or Trigger (8801-04), the DC/DC-CAN converter (8802) inside the frame, the shift unit (8803) on the SPEEDHUB, and the cable linking the two (8804–8810, 400–1000 mm). The converter connects to the e-bike system with a Y-cable. On Panasonic FIT, shifting is done with the rocker on the Panasonic RC1 control unit, not the Rohloff button.