
Fitting the long torque arm
Every SPEEDHUB without OEM, OEM2 or PM in its name comes with the long torque arm. The arm is first bolted to the axle plate, then fixed under the chainstay.
The arm on the axle plate
Section titled “The arm on the axle plate”- Hold the torque arm behind the axle plate. From behind, push the threaded sleeve through the arm, put the washers between arm and axle plate, then from the front push the bolt through the axle plate and tighten it (M8×0.75, 5 mm Allen, 7 Nm).
- On CC versions, fit the clevis for the quick release: place it on the arm, push the pin through and secure it with the circlip. On TS versions a frame clamp goes on the arm instead.
CC: quick-release arm
Section titled “CC: quick-release arm”The CC version fixes to the chainstay with a quick release, so the wheel comes out without tools.
-
Put the wheel in the dropout and turn the axle so that the arm’s end is right under the chainstay. Close the axle quick release.
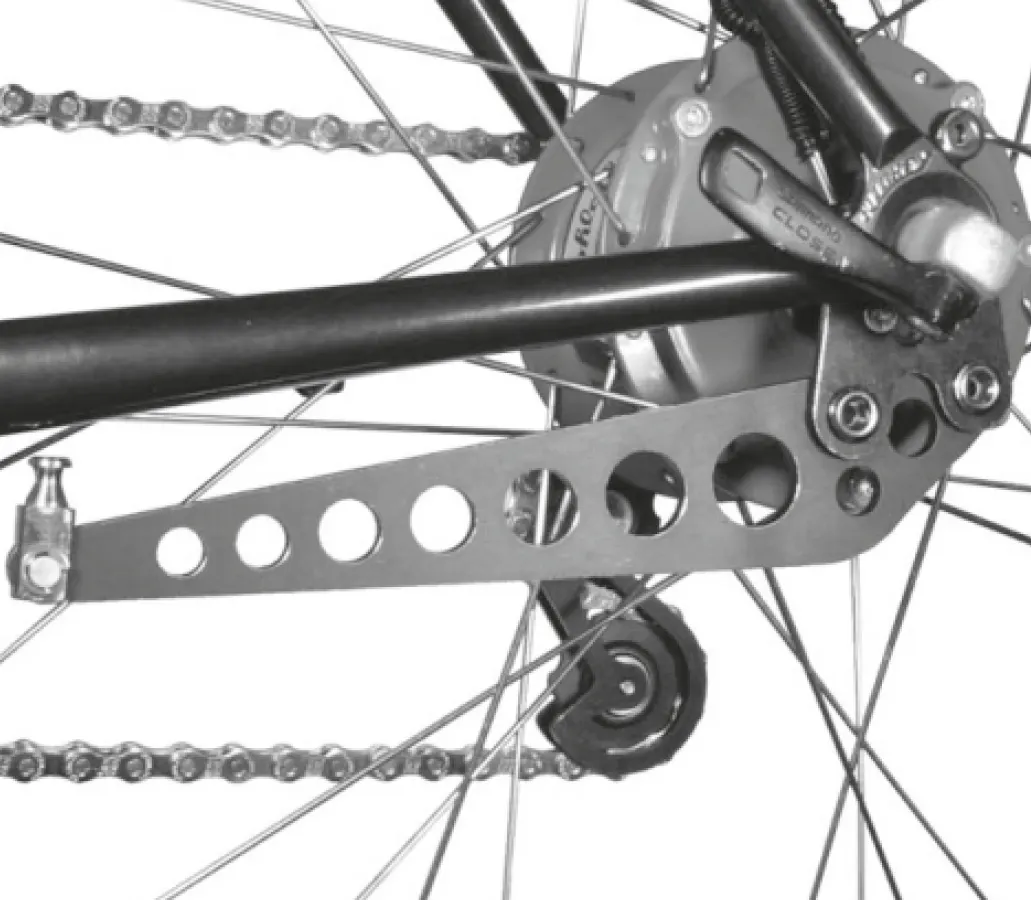
-
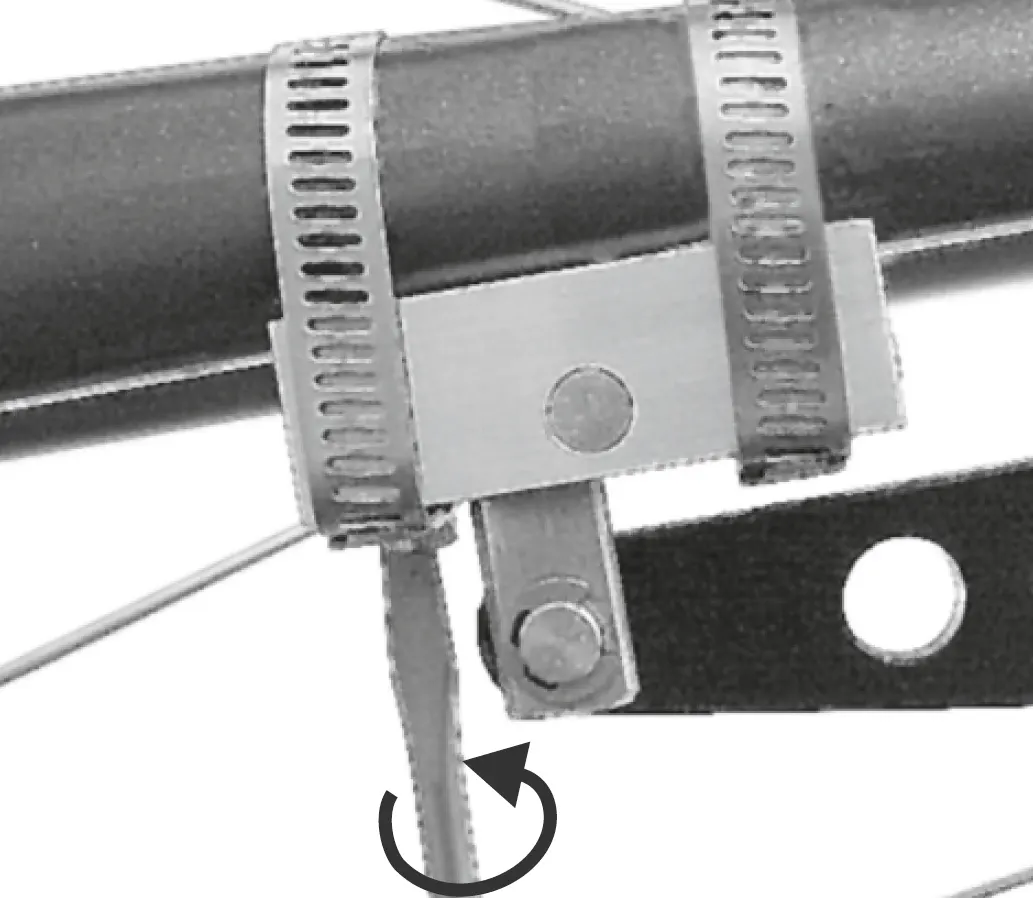
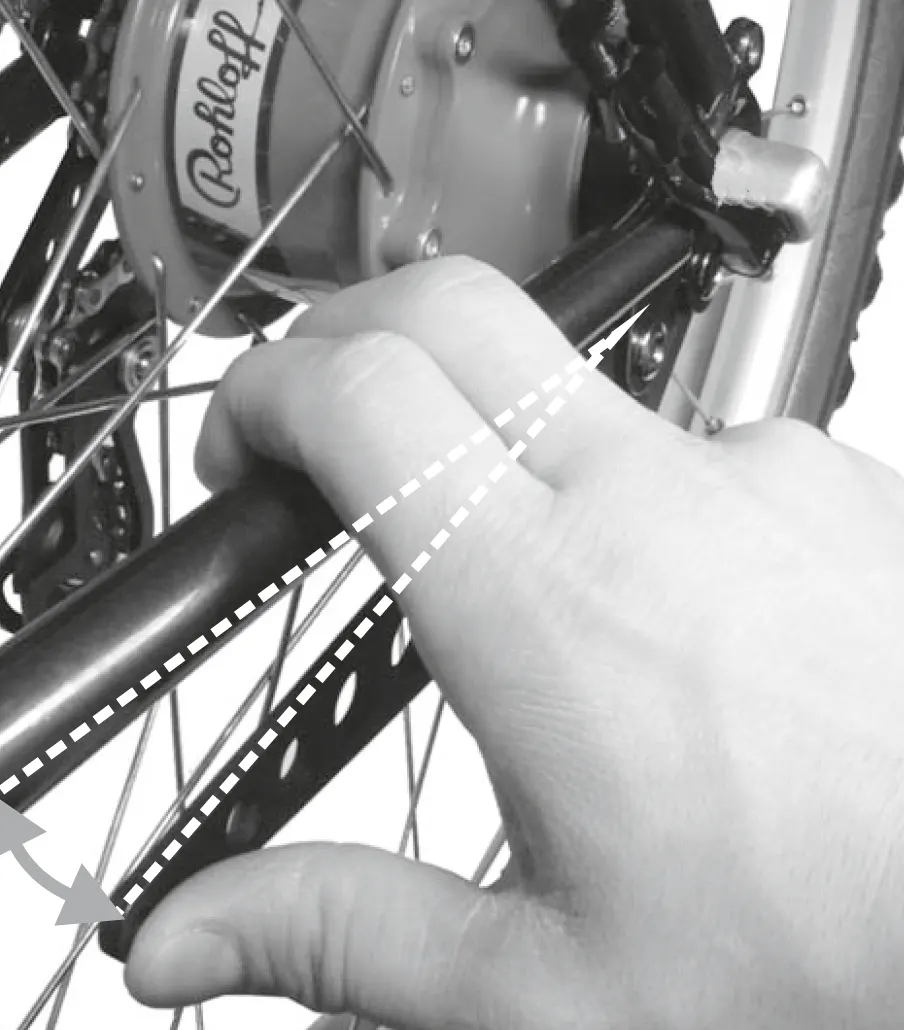
Press sideways on the arm to bend it inwards until its end sits exactly under the middle of the chainstay.
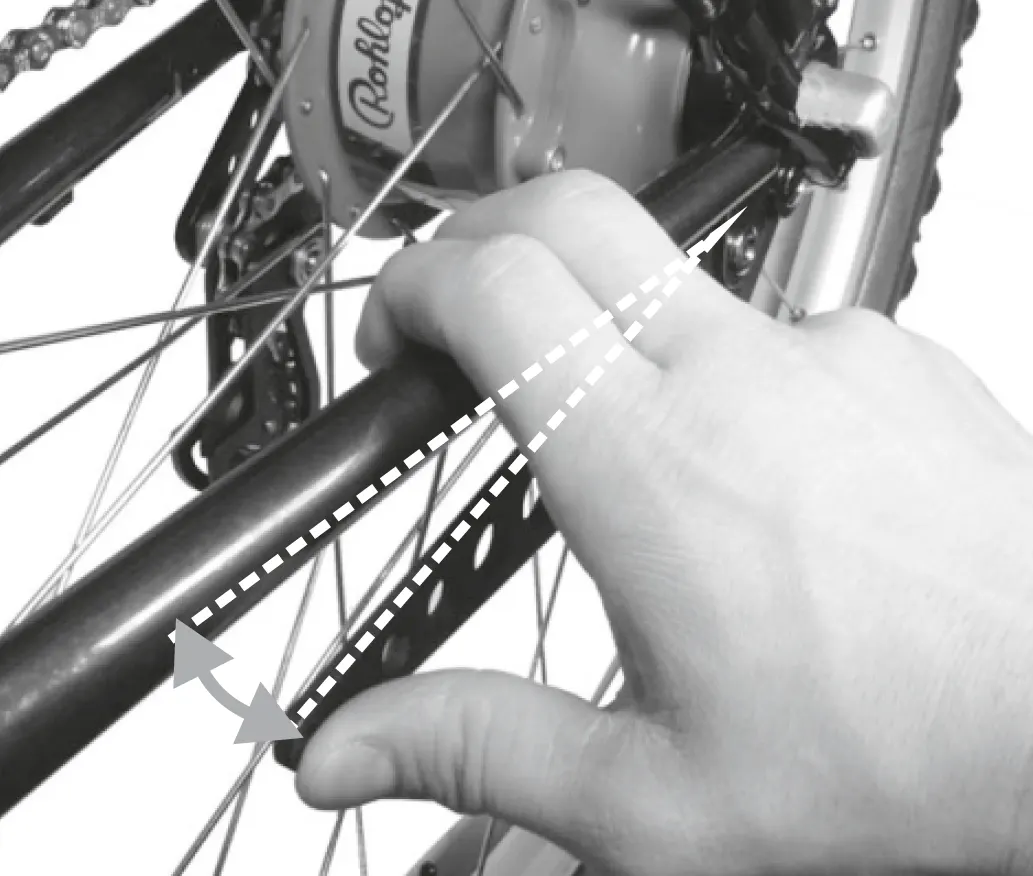
-
Slide the clevis into the quick release from below and lock it by pressing the locking pin in. Locked, the pin is flush with the outside of the quick release; to open, press the release button back from the inside.
-
Press the engaged quick release up against the chainstay from below — the release button faces the inside of the frame. Check that it sits centred under the chainstay; if not, bend the arm a little more.
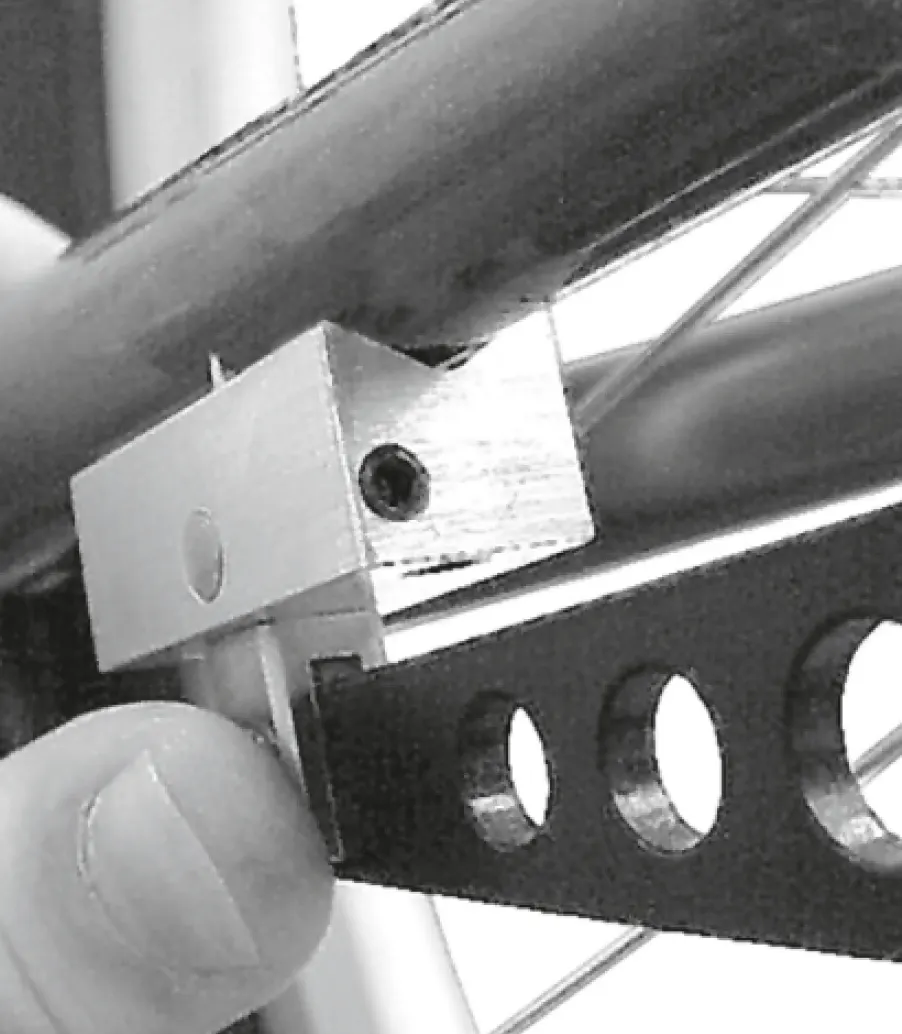
-
Put the two clamp bands round the chainstay and bend them to shape. The screw heads sit on the inside of the frame, facing down.
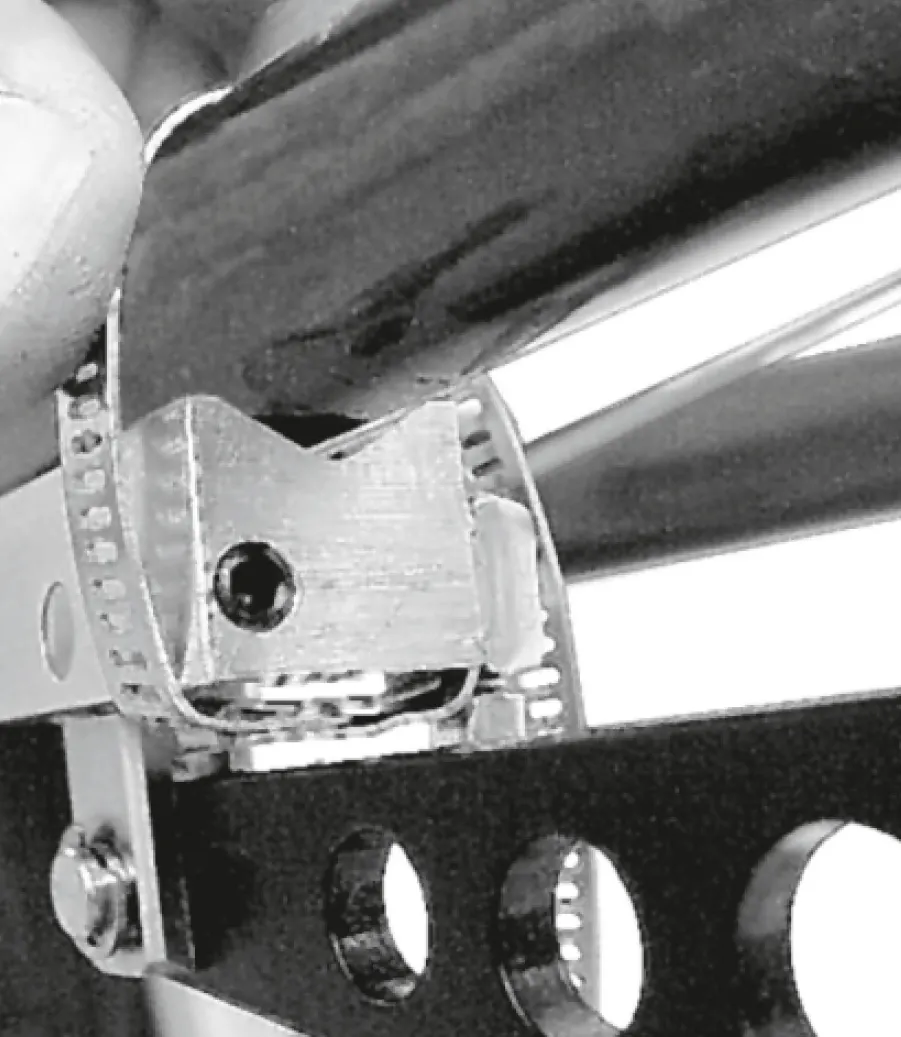
-
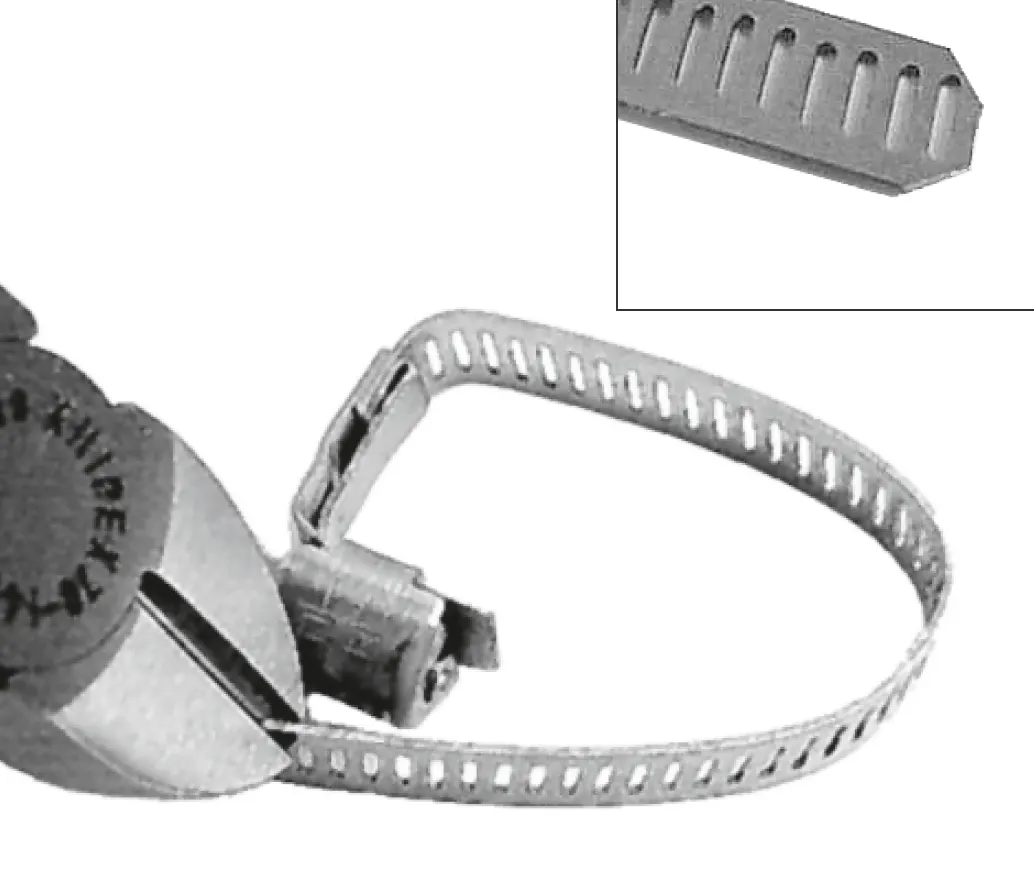
Take the bands off, cut off the surplus, and round off the sharp corners — they can cut your hand.
-
Fit both bands and tighten their screws evenly (2.5 Nm).
-
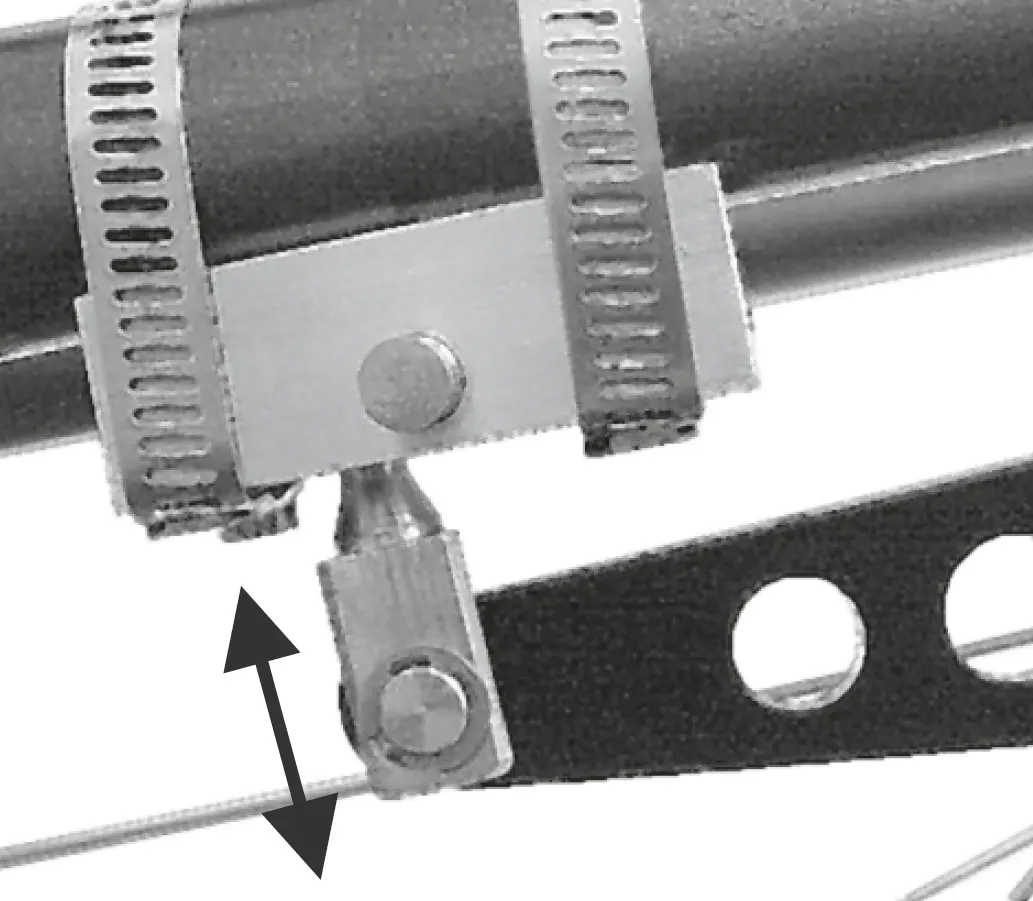
Open the quick release and the axle quick release, and check that the arm swings in and out easily. If not, loosen the bands and correct the position of the quick release.
TS: frame clamp arm
Section titled “TS: frame clamp arm”On the TS version the arm is held by a metal clamp — bolt, nut and washer.
-
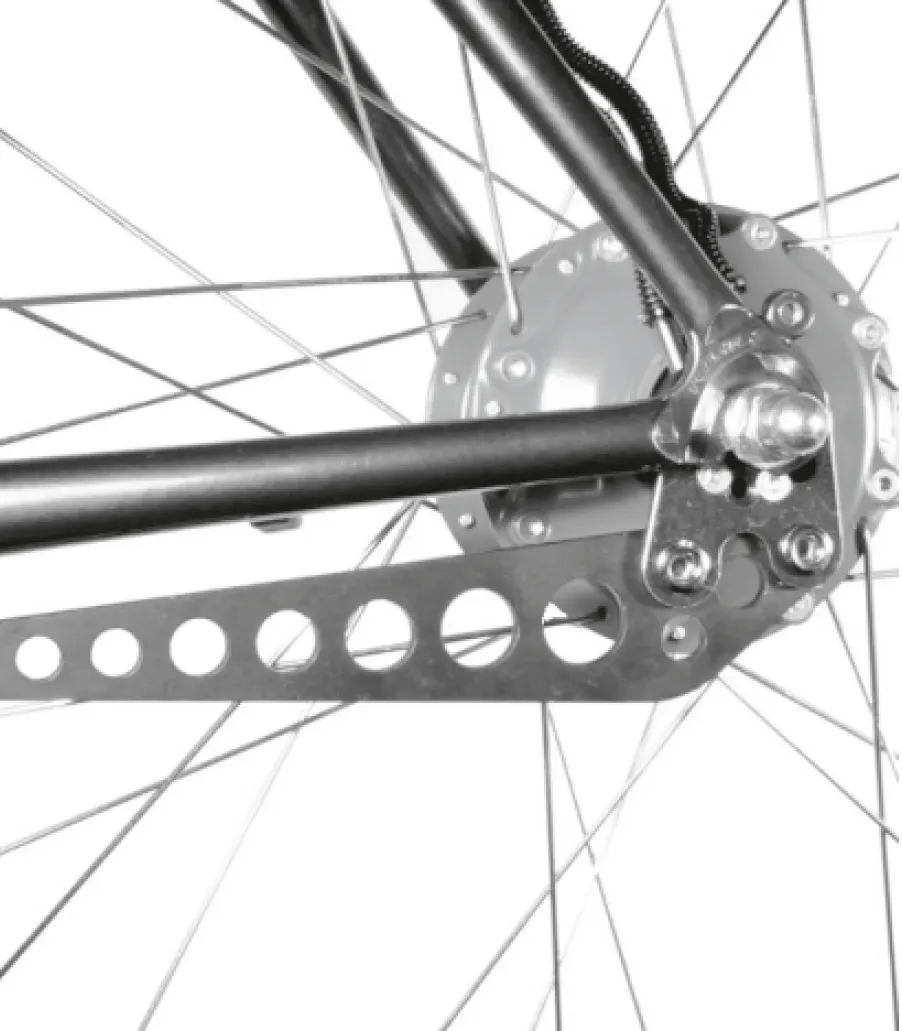
Put the wheel in, turn the axle so that the arm’s end is under the chainstay, and tighten the axle nuts.
-
Press sideways to bend the arm in under the middle of the chainstay.
-
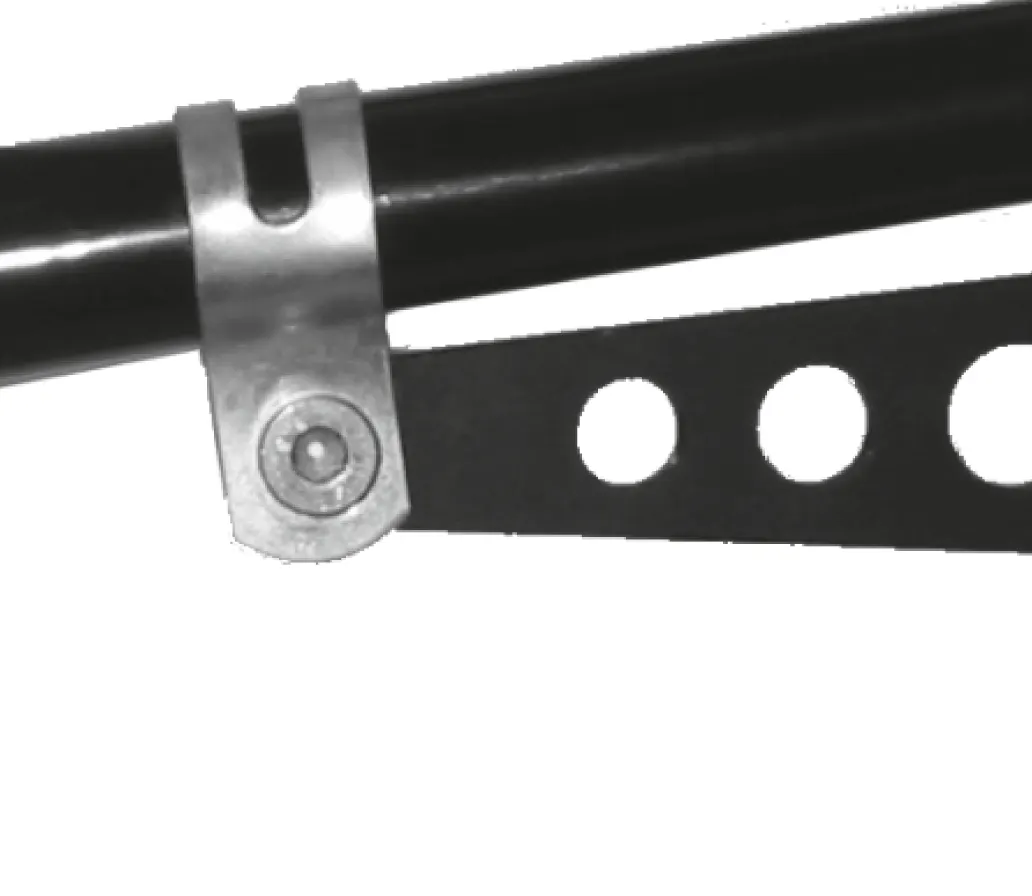
Put the frame clamp round the chainstay and bolt it to the arm (10 mm spanner, holding with a 4 mm Allen key, 6 Nm).
OEM, OEM2 and PM axle plates
Section titled “OEM, OEM2 and PM axle plates”These need no separate arm: the axle plate passes the torque to the frame itself.
- OEM: guide first the axle stub, then the support block into the extended slot of the Rohloff OEM dropout.
- OEM2: as you push the axle stub in, the plate’s fork must hook round the SPEEDBONE or MonkeyBone pin, or the support bolt’s head.
- PM: the plate’s fork must hook round the PM Bone’s pin. With an A12 axle, the bushings must be in the right order on the right side, with two Nord-Lock washers under each bolt.
Before closing the quick release or tightening the axle nuts, always check that the axle stub sits fully home in the dropout. For the torques, see Tools and bolts.
Frequently asked questions
- What torque do the long torque arm's clamps take?
- On CC versions, tighten the two clamp bands' screws evenly to 2.5 Nm; on TS versions, the frame clamp bolt to 6 Nm. The bolt holding the arm to the axle plate takes 7 Nm.