
Axle plate position
The axle plate’s hole pattern lets you turn the plate — and the shift actuation with it — in 30° steps. That way the cables can be routed well on almost any frame. Good cable routing means:
- few bends,
- the shortest, most direct path,
- no kinks in the housing or the inner wire.
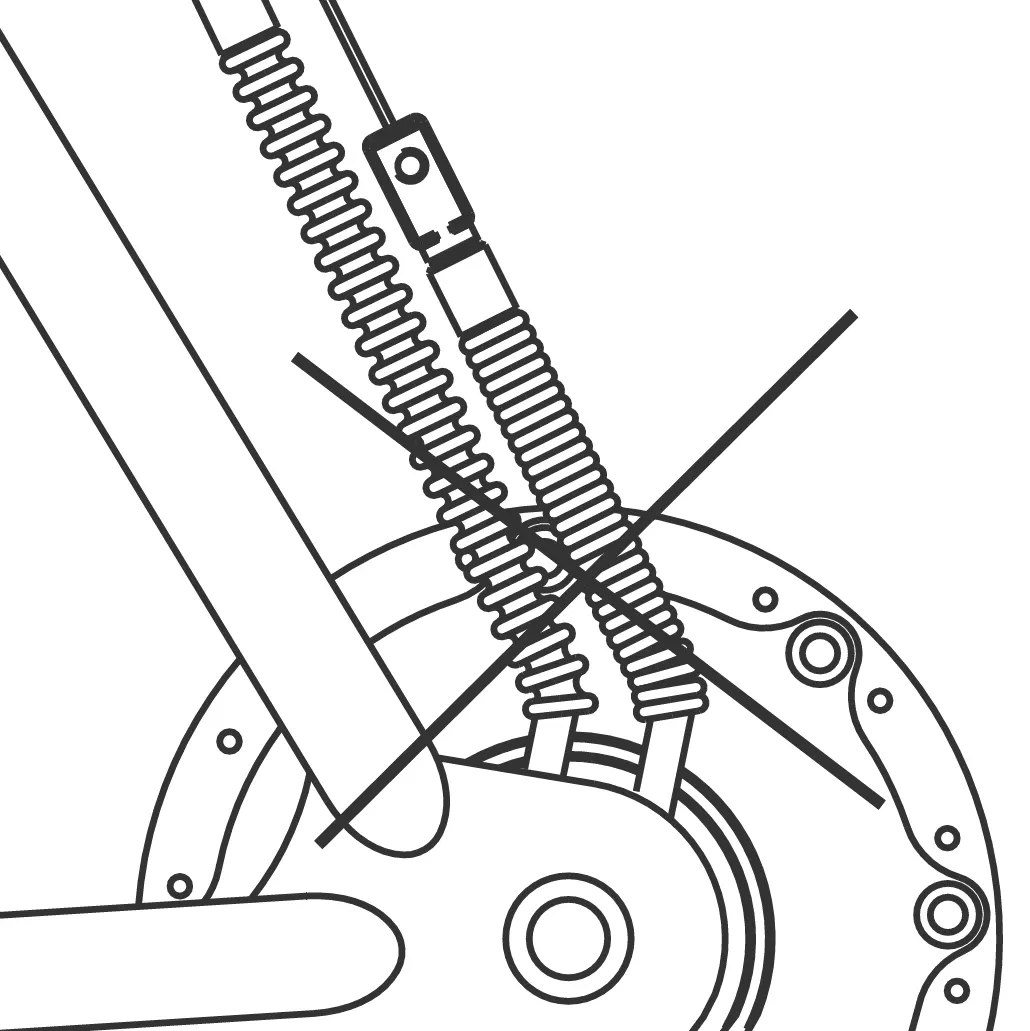
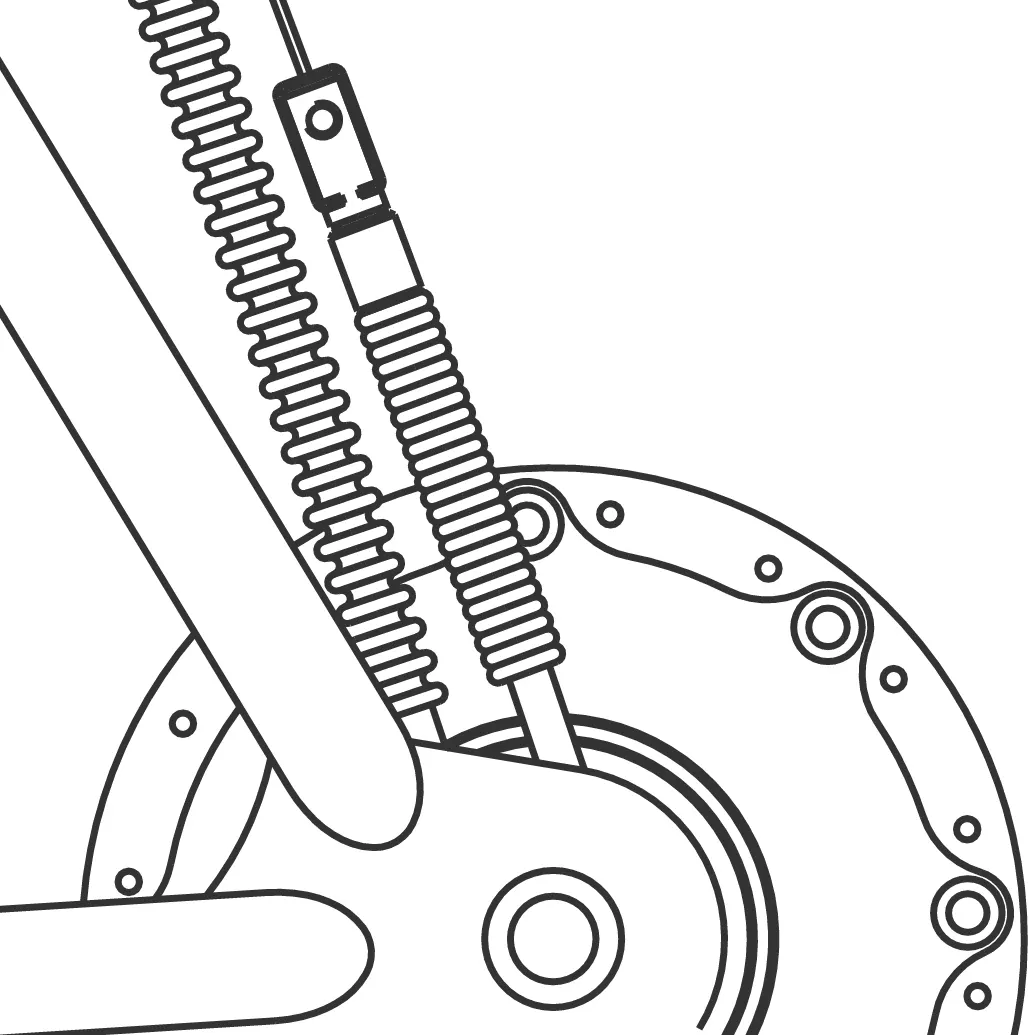
Typical positions
Section titled “Typical positions”External actuation with the long torque arm. The cable box can face the upper directions; if the lower position is needed, the long arm has to be bolted to the outside of the axle plate.
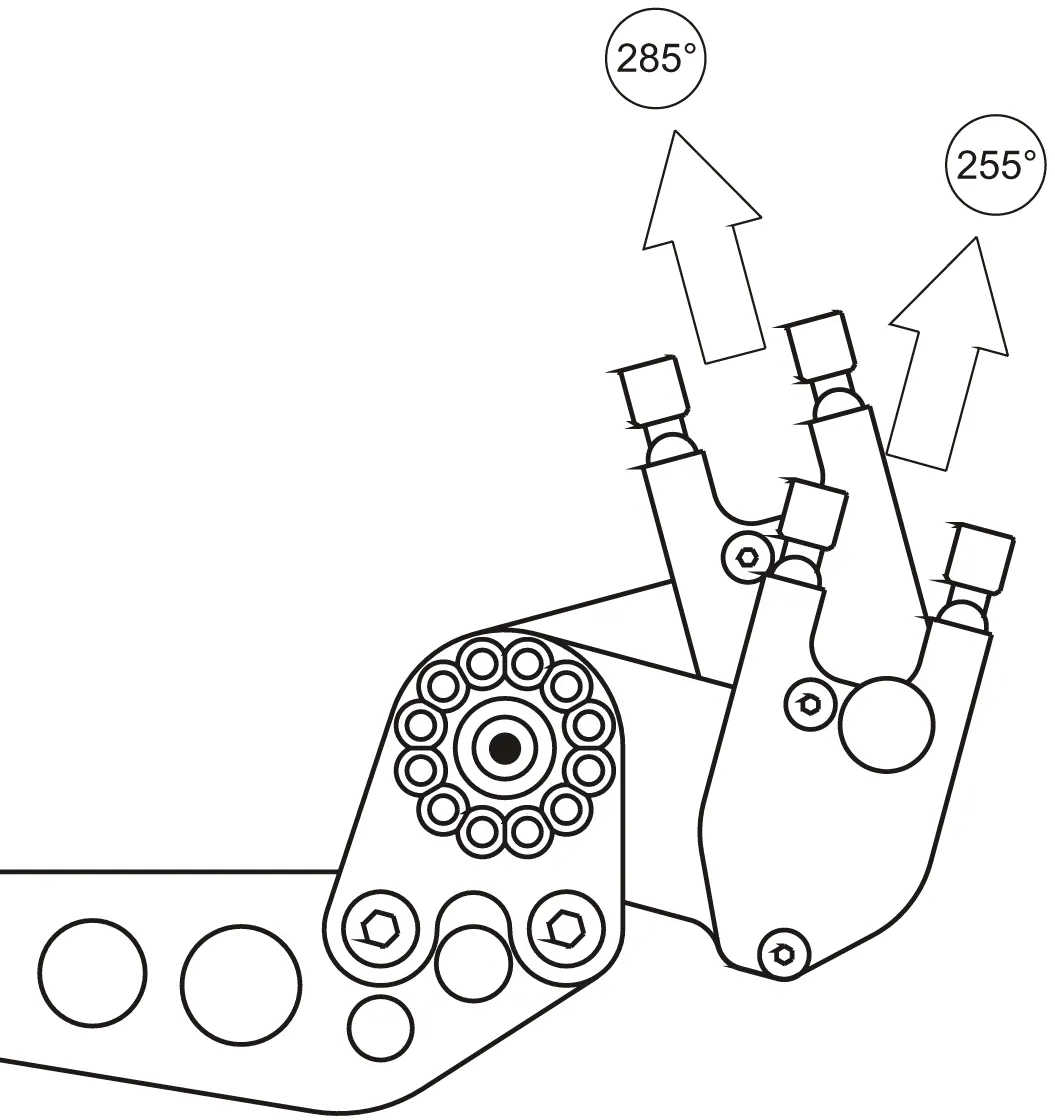
External actuation with an OEM2 axle plate. The plate’s fork and the cable box can be combined in several positions.
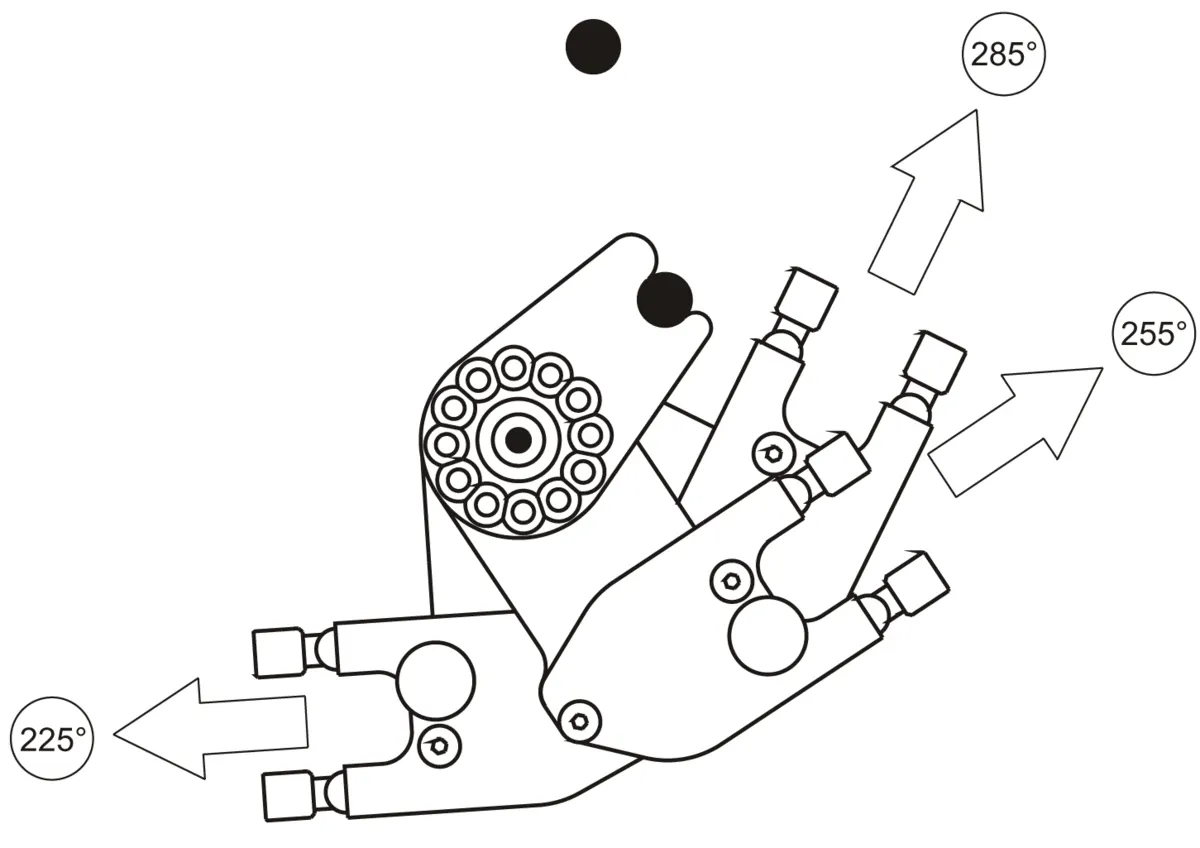
Cables along the chainstay. A common layout when the frame routes the cables along the chainstay — the cable box then faces forwards and down.
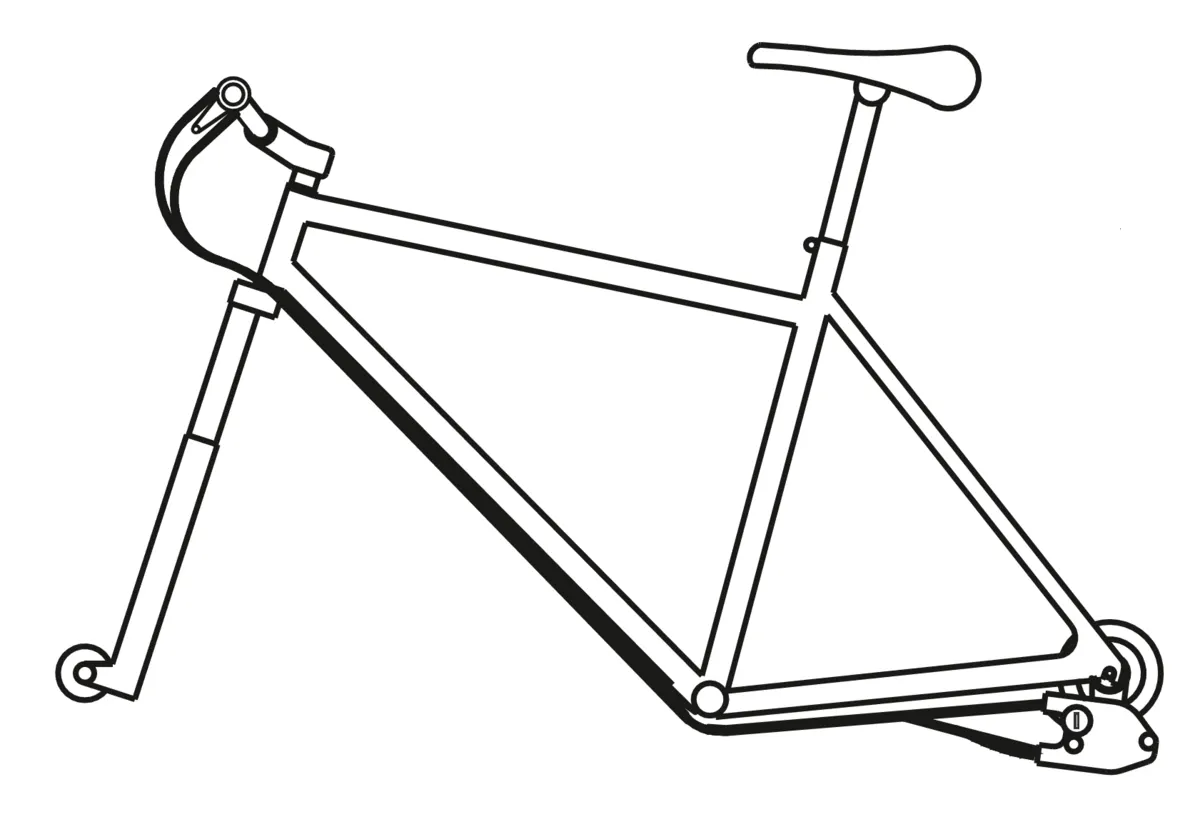
With internal actuation (now available as a spare part only), the cable stop sits on the brake boss or the chainstay, and the axle plate position follows from it.
Changing the axle plate position
Section titled “Changing the axle plate position”- Unscrew and remove all the axle plate screws (M4×25, TX20) — five or six, depending on the version.
- Turn the axle plate to the position you want.
- Fix it again with every screw (TX20, 3 Nm).
Hold the axle while loosening and tightening the screws:
-
with the long torque arm, by the arm,
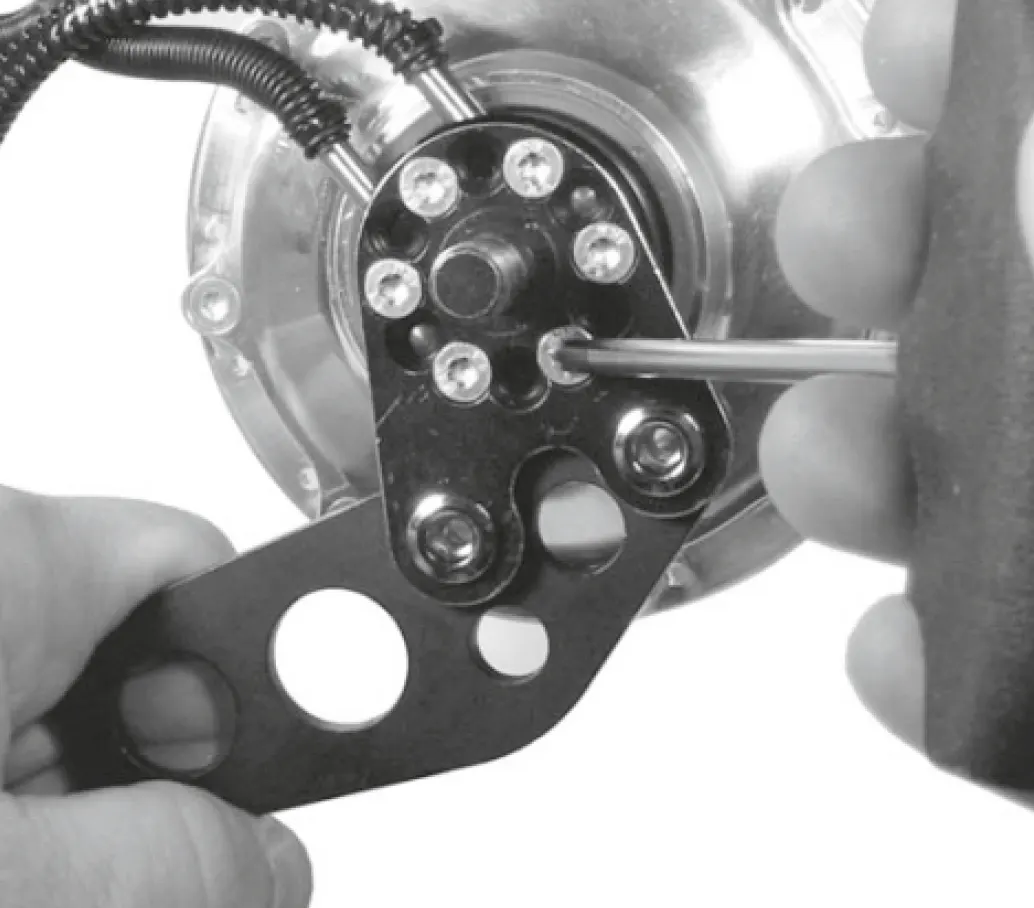
-
with an OEM axle plate, with a 10 mm spanner on the support block,
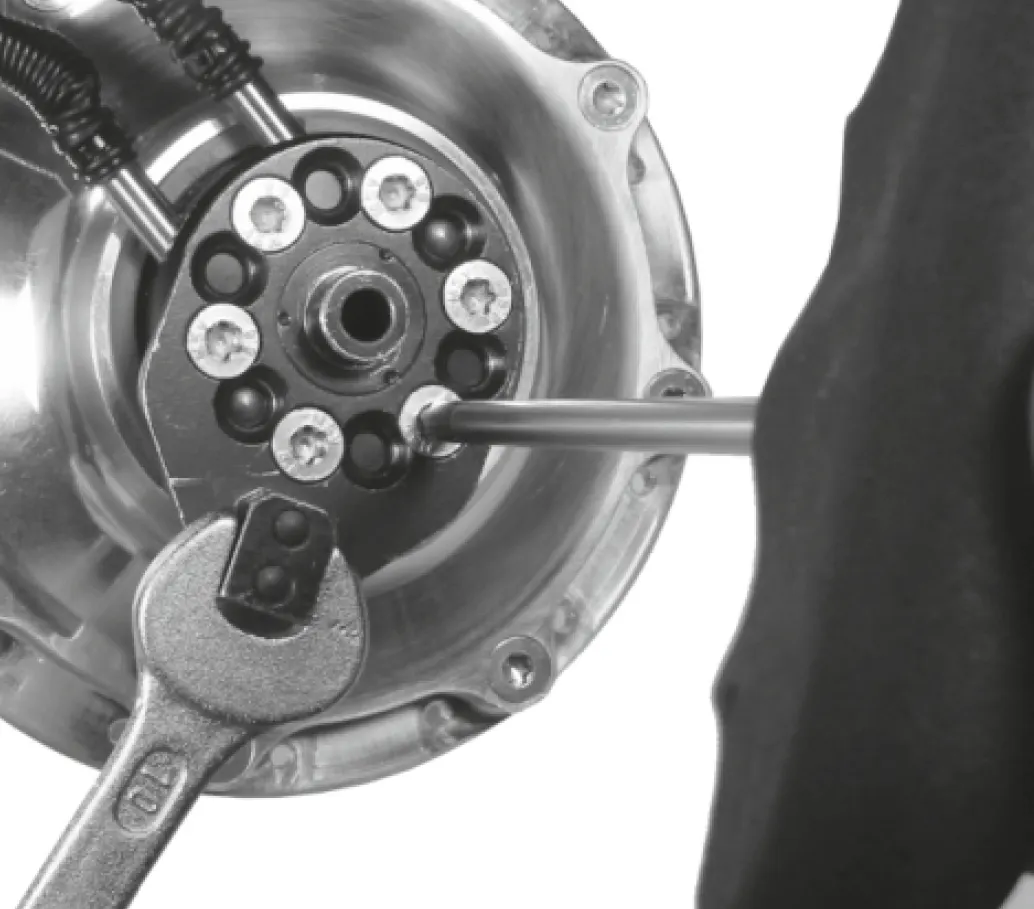
-
with an OEM2 axle plate, with a 10 mm spanner on the plate’s fork.
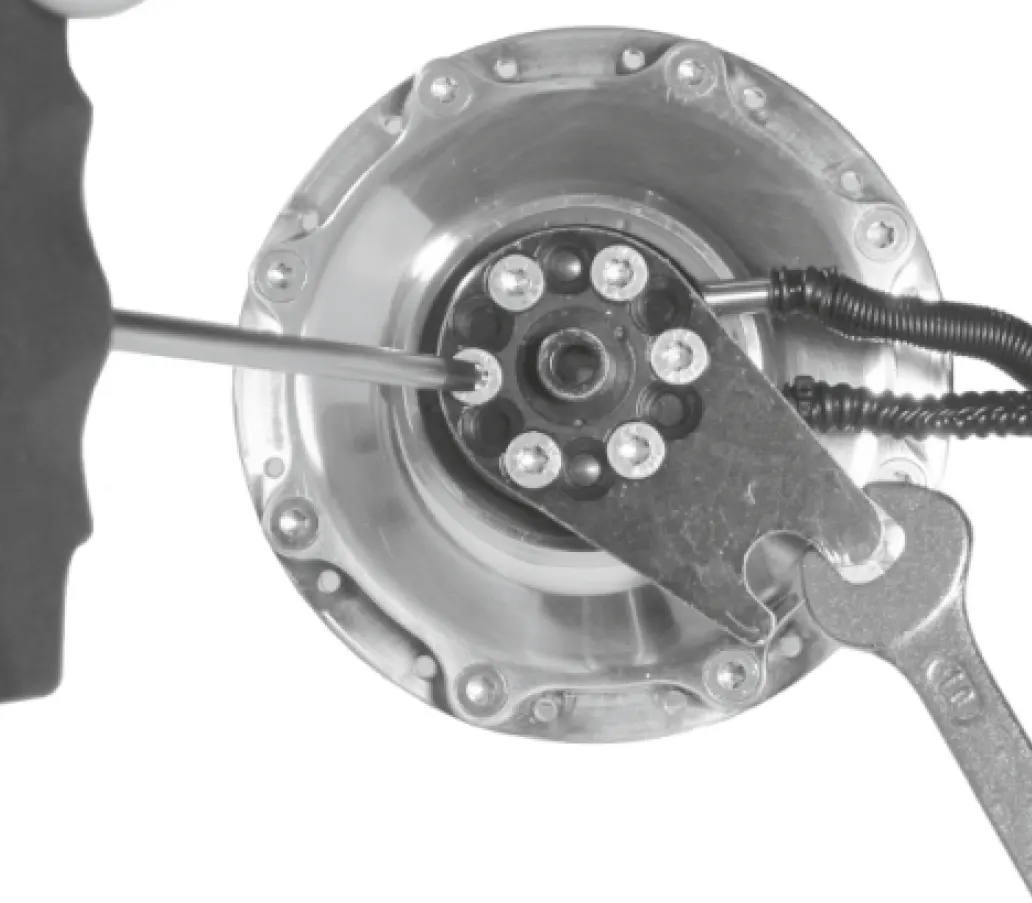
Frequently asked questions
- How do I set the axle plate's position?
- Remove all the axle plate screws (M4×25, TX20), turn the plate to the position you want — in 30° steps — and fix it again with every screw, at 3 Nm. Hold the axle by the long arm, or with a 10 mm spanner on OEM and OEM2 plates.